How to set up a Home Theatre:
How to Set Up the Perfect Projector Room
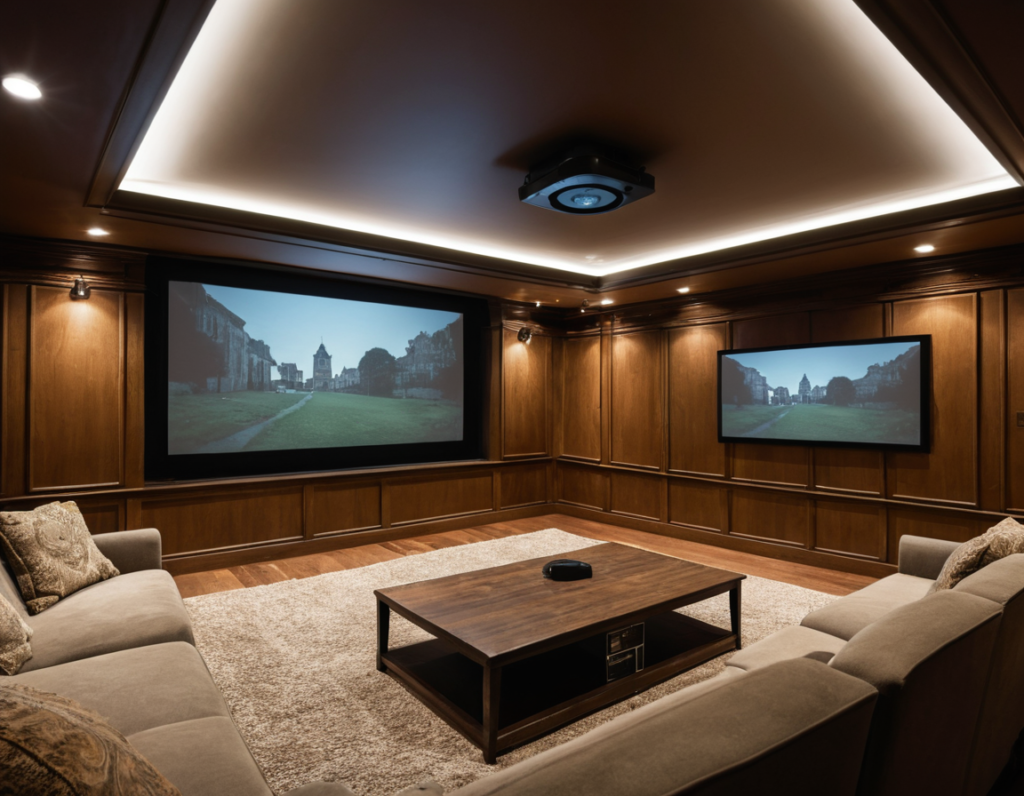
Creating a dedicated projector room can elevate your entertainment experience to new heights, whether you’re a movie buff, a gamer, or someone who loves hosting immersive viewing nights. Setting up a projector room might seem like a daunting task, but with a bit of planning and the right equipment, you can transform any space into a cinematic paradise. Here’s a step-by-step guide to help you design and optimize your projector room.
Step 1: Choose the Right Space
The first step is selecting the perfect room for your projector setup. Consider the following:
- Room Size: A medium-to-large-sized room is ideal for accommodating a big screen and seating.
- Light Control: A space with minimal natural light is best, as too much ambient light can wash out the projected image. Blackout curtains or blinds can help if the room has windows.
- Acoustics: Rooms with carpeted floors, soft furnishings, and minimal echo are ideal for better sound quality.
Step 2: Select the Perfect Projector
Your choice of projector will depend on your needs and budget. Here are key features to consider:
- Resolution: Go for at least Full HD (1080p) or 4K for sharp visuals.
- Brightness: A projector with 2,500 lumens or higher is suitable for most environments.
- Throw Distance: Determine if you need a short-throw or long-throw projector based on room size.
- Connectivity: Ensure the projector has HDMI inputs, Wi-Fi, or other necessary ports for your devices.
Step 3: Invest in a High-Quality Screen
While you can project onto a plain wall, a dedicated screen enhances image quality. Choose from:
- Fixed Screens: Ideal for permanent setups.
- Pull-Down Screens: Perfect for multi-purpose rooms.
- Painted Wall Screens: Special projector paint can turn a wall into a screen with minimal cost.
Step 4: Optimize the Room Layout
The arrangement of your room plays a significant role in your viewing experience:
- Screen Placement: Position the screen so it’s easily viewable from all seats, at least 24–36 inches off the floor.
- Projector Mounting: Mount the projector to the ceiling or place it on a sturdy shelf, ensuring it aligns with the screen.
- Viewing Distance: Sit at a distance roughly 1.5 to 2.5 times the width of the screen for optimal viewing comfort.
Step 5: Set Up Surround Sound
A great visual experience deserves equally great audio. Here’s how to achieve it:
- Surround Sound System: A 5.1 or 7.1 system provides immersive sound.
- Speaker Placement: Position speakers around the room for balanced audio.
- Soundproofing: Add acoustic panels, rugs, and curtains to reduce echo and keep the sound contained.
Step 6: Control Lighting
Light control is crucial for a cinema-like experience:
- Blackout Curtains: Block out natural light for daytime viewing.
- Dimmable Lights: Install dimmable LED lights to maintain a cozy ambiance without glare.
- LED Strips: Add LED strips around the screen or under furniture for a stylish touch.
Step 7: Manage Your Equipment
Keep your projector room clutter-free by organizing your equipment:
- Media Console: Use a console to store Blu-ray players, streaming devices, and gaming consoles.
- Cables: Use cable organizers or conduits to hide wires and maintain a clean look.
- Remote Controls: Consider a universal remote to manage all your devices.
Step 8: Add Comfortable Seating
Comfort is key to enjoying your projector room. Choose seating that fits your style and needs:
- Recliners: Plush recliners with cup holders are a popular choice.
- Sofas: Sectional sofas provide comfort for group viewing.
- Tiered Seating: If space permits, tiered seating offers an authentic theater experience.
Step 9: Fine-Tune the Setup
Once everything is in place, tweak your settings for optimal performance:
- Calibrate the Projector: Adjust brightness, contrast, and focus for the sharpest image.
- Align the Projector: Use keystone correction to ensure the image is perfectly rectangular.
- Test the Sound System: Play a test video to check sound levels and speaker balance.
Step 10: Personalize Your Space
Finally, make your projector room uniquely yours:
- Decor: Add movie posters, memorabilia, or themed decor.
- Concessions: Set up a snack bar with popcorn, drinks, and treats for a true theater vibe.
- Smart Features: Integrate smart lighting and voice-activated controls for added convenience.
Conclusion
Creating the perfect projector room is all about planning, choosing the right equipment, and adding personal touches to make the space your own. With the right setup, you’ll enjoy countless hours of immersive entertainment, whether you’re watching the latest blockbuster, hosting a gaming night, or streaming your favorite shows. Happy projecting!